Published: Mar 15, 2025 by Alistair
This is a guide on running Tock and RadioLib on a SparkFun expLoRaBLE Thing Plus to send weather data over LoRaWAN to Home Assistant.
This is completely open source software, no binary blobs besides the ROM on the SoC. With most of the non LoRa code written in Rust, the rest is in C.
LoRa
LoRa (Long Range) is a radio communication technique that uses spread spectrum modulation technique derived from chirp spread spectrum (CSS) technology.
LoRa provides a number of properties including:
- long range, can cover tens of kilometres
- low power, devices can run for years
- reasonably secure
- standardised
- relativity cheap
LoRaWAN
LoRaWAN builds on top of LoRa. It’s a software layer that guides when and how transmissions should happen.
LoRaWAN works with a gateway and devices communicate with that gateway. The gateway needs some server software, Chirpstack and The Things Network (TTN) are two famous examples of this. It’s a similar setup to a WiFi router.
Hardware
The entire monitor is built with readily available hardware and with as much “plug and play” as possible.
The weather station supports the following:
- Rainfall over last hour
- Rainfall over last day
- Current temperature
- Current humidity
- Soil Moisture Percentage
With more sensors being added.
SparkFun expLoRaBLE Thing Plus
The SparkFun expLoRaBLE Thing Plus is a Feather-footprint development board with the NM180100 system in package (SiP), from Northern Mechatronics. This includes a Ambiq Apollo3 microcontroller and the Semtech SX1262 LoRa transceiver in a single SoC.
Chirp I2C Soil moisture
Chirp I2C soil moisture sensor, attached to the Qwiic bus.
DFRoboto Rain Gauge
A DFRobot tipping bucket rain gauge also connected via Qwiic.
SparkFun Environment Sensor
A temperature and humidity sensor, also attached via Qwiic.
DFRobot Solar Manager and Solar Pannel
To power the device some LiPo batteries have been connected to a DFRobot solar manager which can charge the batteries while powering the device. This allows the device to work without being externally powered and the battery is capable of running the monitor for multiple days.
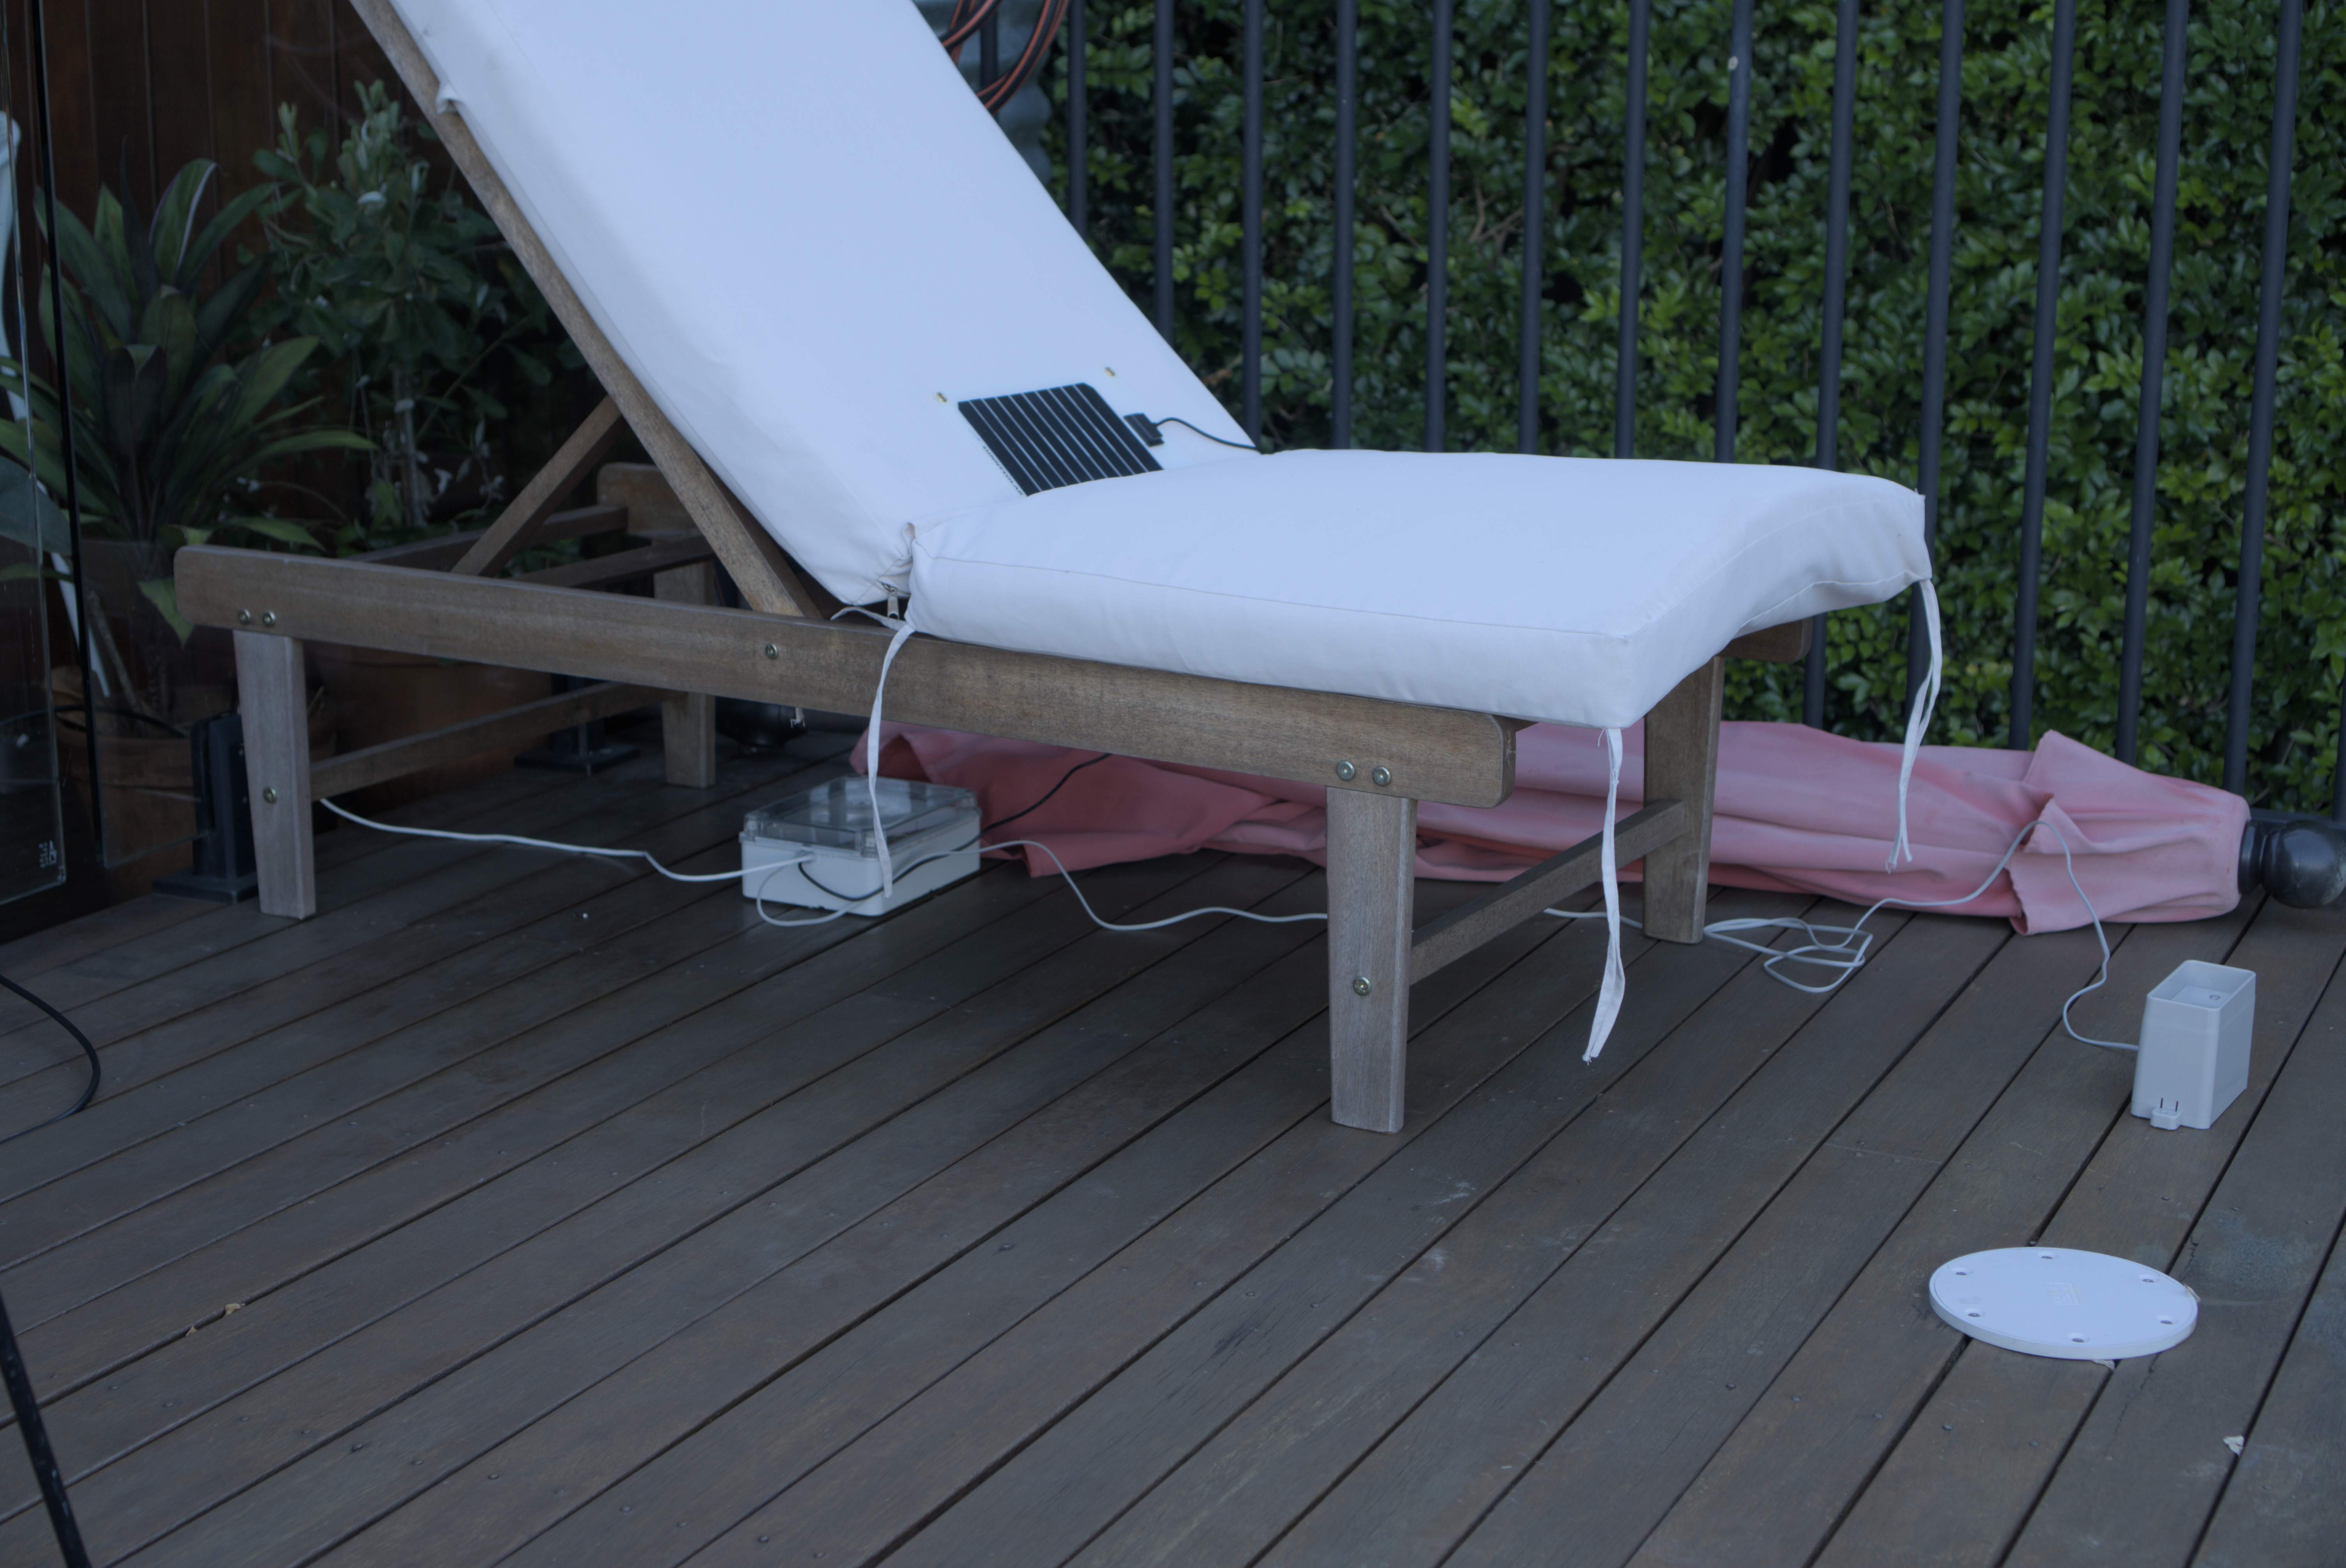
Final product
Putting it all together with some batteries and in a water proof box results in this. It’s able to run for multiple days without any sun and the batteries are able to recharge fully from a sunny day.

Tock
Tock is an embedded operating system (OS) written in Rust. It is designed for running multiple concurrent, mutually distrustful applications on Cortex-M and RISC-V based embedded platforms. Tock’s design centres around protection, both from potentially malicious applications and from device drivers.
Tock has support for the Ambiq Apollo3 microcontroller and the SparkFun expLoRaBLE Thing Plus. Using these and RadioLib we can run a LoRa application

Install Tock
First we need to install the Tock kernel for our platform. This does the startup and heavey lifting and is written in Rust. Tock will then load applications which provide the LoRaWAN functionality.
There are complete getting started steps in the Tock repo, but below is a quick start.
First plug in the board.
Then install Rust, you can use rustup for this: https://www.rust-lang.org/tools/install
Then clone, enable the sensors and build Tock.
git clone https://github.com/tock/tock.git
cd boards/apollo3/lora_things_plus
Apply the following diff to enable the features
index 934ce7569..4b897ba26 100644
--- a/boards/apollo3/lora_things_plus/Cargo.toml
+++ b/boards/apollo3/lora_things_plus/Cargo.toml
@@ -29,7 +29,7 @@ tock_build_scripts = { path = "../../build_scripts" }
 workspace = true

 [features]
-default = []
+default = ["chirp_i2c_moisture", "dfrobot_i2c_rainfall"]

 # This feature enables support for the ATECC508A Cryptographic Co-Processor
 # Breakout. If you connect one of these
Then build and flash the kernel to the board.
make flash
The Tock kernel is now on your board. Next we want to build and flash our applications
Generate LoRaWAN server keys
You will want to generate the keys on the server.
This guide is going to use Chirpstack. The Things Network (TTN) will also work fine as a LoRaWAN server and it has been tested with the applications below.
Chirpstack ended up being easier to integrate with Home Assistant and works without any internet access using MQTT. TTN can also integrate with Home Assistant and the steps should be similar, although I haven’t tested that myself.
Follow steps on the internet for creating an application and then create a device under that application. You will need to record the Join EUI, Device EUI, Application Key and Network Key. Save these for the next step.
LoRaWAN Decoder
You will also want to setup a decoder or a codec. This will decode the LoRaWAN payload. If using TTN or a modern Chirpstack version you can select “Cayenne Low Power Payload (LPP)”. If your LoRaWAN server doesn’t have the decoder you can manually use the one from: https://github.com/alistair23/libtock-c/blob/alistair/lora-working/examples/lora/sensor-lorawan/cayennelpp-decoder.js instead.
libtock-c
We use the libtock-c framework for our applications. We will load two applications, one at a time. The first will load the server keys from above into flash. The second will then use those keys to communicate over LoRaWAN.
Upstream libtock-c does support LoRa and LoRaWAN, but it is missing some key features as the community is reluctant to add new functionality.
As such we are going to use a fork of libtock-c to get the full LoRaWAN functionality.
Setting LoRaWAN keys in flash
First setup the prerequisites.
git clone --recursive https://github.com/alistair23/libtock-c.git
git checkout alistair/lora-working
cd examples/lora/lorawan-set-keys
cp radioConfig_example.h radioConfig.h
At this point you will need to edit the file radioConfig.h with the Join EUI, Device EUI, Application Key and Network Key outputted from your LoRaWAN server.
After you have edited the 4 values you can build the final binary with
make
You can then run the application by flashing it to the board. To do this run make flash-app in the Tock boards/apollo3/lora_things_plus directory from above, but point to the application binary tbf you just built.
APP=RadioLib/examples/NonArduino/Tock/build/tock-sx1261.tbf make flash-app
This application when run will store the LoRaWAN keys in the boards flash storage. That way our LoRaWAN application can load the values and use them.
Running LoRaWAN sensor
Change to the libtock-c directory and then build the LoRaWAN application.
examples/lora/sensor-lorawan
make
Again flash the application by running the below command in the Tock boards/apollo3/lora_things_plus directory.
APP=RadioLib/examples/NonArduino/Tock/build/tock-sx1261.tbf make flash-app
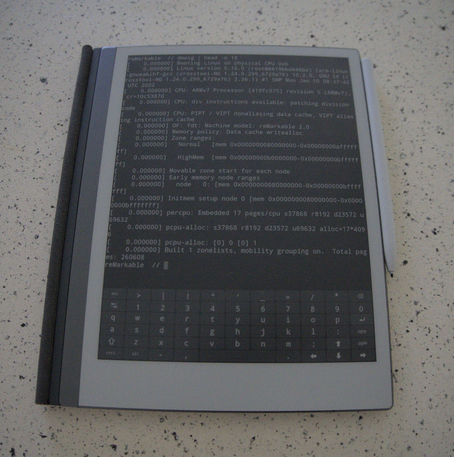
At this point the LoRaWAN application should be running and transmitting. It will be printing debug information on the boards UART (accessible via the USB connection).
You should be able to see the events on the server. It should look something like this. Note that the first connection will also include some join events.

Setup weather station
That’s it! At this point you have installed Tock and the LoRaWAN weather collecting application. The application should be collecting information (via the Tock kernel) and then transmitting data which the server can decode.
If using TTN you should be able to see the measurements in the dashboard.
If using Chirpstack we will want to configure the measurements on the server. Under “Device profiles” there is a “Measurements” tab. That hopefully will be auto populated, but if not you will need to manually enter the data like this.

Once that is configured you can then see the measurements in the application page.

The LoRaWAN server should now be receiving weather data from the device.
Integrate with Home Assistant
Finally we want to integrate the data with Home Assistant.
For TTN there is a integration, or you can use MQTT.
With our Chripstack implementation we are going to use MQTT.
Setup MQTT Broker
First is to install the Mosquitto broker if it isn’t alredy setup.
Forward Chirspstack Data to MQTT
Next you will want to configure Chirpstack to use the MQTT server. I set this up using the SenseCAP interface on my LoRaWAN gateway LoRa Network Configuration.
That’s it! The data should now be visible in Home Assistant.

Hopefully you can follow the above steps. If you have any issues just raise an issue.